Miter Saw Station Planning: Workspace and Storage Decisions

Establish Station Length Before Anything Else
Station length is the first number to settle because it drives almost every downstream decision: how many cabinets you can fit, whether fold-down wings make sense, and whether the station will actually fit the wall you have in mind. The temptation is to build as long as possible, but a longer station is not always the right answer. One redesigned station was reduced from eight feet to just over 64 inches specifically because the builder realized the extra length was consuming wall space without adding useful support.
The key insight behind that reduction: you do not need a dedicated outfeed surface on both sides if an adjacent shop fixture can serve the same purpose. Using a drill press table, a workbench, or another fixture at matching height as one outfeed support can recover significant wall space. The only requirement is that the adjacent surface sits at exactly the same height as your saw's cutting surface, which varies by model and must be measured before you plan anything.
Fixed Wings Versus Fold-Down Extensions
Extension wings on either side of the saw support long workpieces during cuts. The decision between fixed and fold-down comes down to how tight your floor space is and how often you use the full extension length. Fixed wings are simpler to build and always ready, but they claim floor space permanently. Fold-down extensions attach with hinges and can be dropped out of the way when you need the space for other tasks, making them a practical choice in a shop where the miter station shares floor space with other operations.
Whichever style you choose, the surface height must match the saw's cutting surface so workpieces feed flat and cuts stay accurate. Because cutting surface height varies across saw models, measure your specific saw before finalizing any extension height or support column dimensions.
Sizing the Saw Compartment to Your Specific Saw
A compartment approximately 24-1/2 inches deep by 26-1/4 inches wide fits most compound miter saws, but you should measure your saw before committing to those dimensions. Compound saws and sliding saws impose different requirements on compartment depth because of how the saw head moves during a cut.
A sliding miter saw needs a rail-forward design so the rails do not contact the back panel of the compartment when the head travels rearward through a cut. If you have a sliding saw and overlook this, the back panel will limit your cut depth or prevent the saw from operating at all. Confirm whether your saw is a rail-forward model before finalizing compartment depth. For swing clearance, one builder's 10-inch saw required at least 24 inches of lateral swing space and at least 12 inches to bolt all four feet to the shelf — again, these are that builder's measurements, not universal dimensions. Explore: Miter Saw Station – Build Plans.
Dust Management: Active Port Plus Passive Chamber
A shop vacuum or dust collector connected to the saw's dust port handles the majority of fine dust at the source, but suction alone does not capture everything. Effective dust management pairs that active collection with a passive chamber behind the saw to contain floating dust, and a pull-out tray below the saw base to collect what falls through.
The pull-out tray serves a second purpose beyond dust: it recovers small offcuts that would otherwise be trapped under the saw. Mounting the saw on support blocks rather than a solid platform allows debris to fall through to the tray below, so the tray can be pulled out and emptied rather than requiring you to reach under the saw.
Fence Versus T-Track Stops
A full-length fence running the entire station is not required and has a real drawback: it can hinder safe crosscutting of bowed or twisted boards that need to rest flat on the table rather than register against a fence. If you do not regularly cut large volumes of identical-length pieces, a fence may add complexity without much benefit.
The practical alternative is aluminum T-track recessed into the work surface, with an adjustable stop for repeat cuts. This covers the same repeat-cut use case as a fence without restricting how distorted stock rests on the table. If your primary use is occasional crosscutting with only occasional repeat cuts, T-track stops are likely sufficient.
Under-Station Storage: Drawers, Cabinets, and Pull-Out Trays
The space beneath and beside the saw compartment is too valuable to leave open. The most common approaches are full cabinets on each side of the saw, open shelves, drawers, or a combination. Two standard cabinets flanking the saw is a compact configuration that can yield substantial bench and storage space within a modest floor footprint — one such build placed a 10-inch saw between two cabinets on a dedicated shelf, taking advantage of the fact that a 10-inch saw cuts only about 7-1/2 inches wide, so a relatively shallow shelf surface is sufficient to support the workpiece during a cut. Explore: Workshop Storage Cabinets + Miter Saw Station.
Pull-out storage boxes inside cabinets work well for organizing blades, accessories, and small hardware. If you plan to use drawer slides, account for the clearance the slides require plus additional clearance to clear any cabinet door — the exact amounts depend on the hardware you choose, so check manufacturer specs before sizing your boxes. An upper cabinet above the saw compartment can fill otherwise dead wall space with additional closed storage.
Fixed Base Versus Mobile Base
A fixed station is simpler to build and, once leveled and anchored, stays stable during cuts. A mobile station on casters can be repositioned within the shop, which matters if your space does double duty or if you need to move the saw to feed long stock in a different direction. The trade-off is that casters must be lockable and locked before every cut; an unlocked mobile base introduces movement at exactly the moment you need the station to be rigid. Explore: Mobile/Modular Miter Saw Station w/ Storage.
Whether fixed or mobile, the base must be level and firmly anchored during use to prevent wobbling. For a fixed station this typically means shimming and fastening to a wall or floor. For a mobile station it means confirming that all casters lock reliably before you treat the station as stationary.
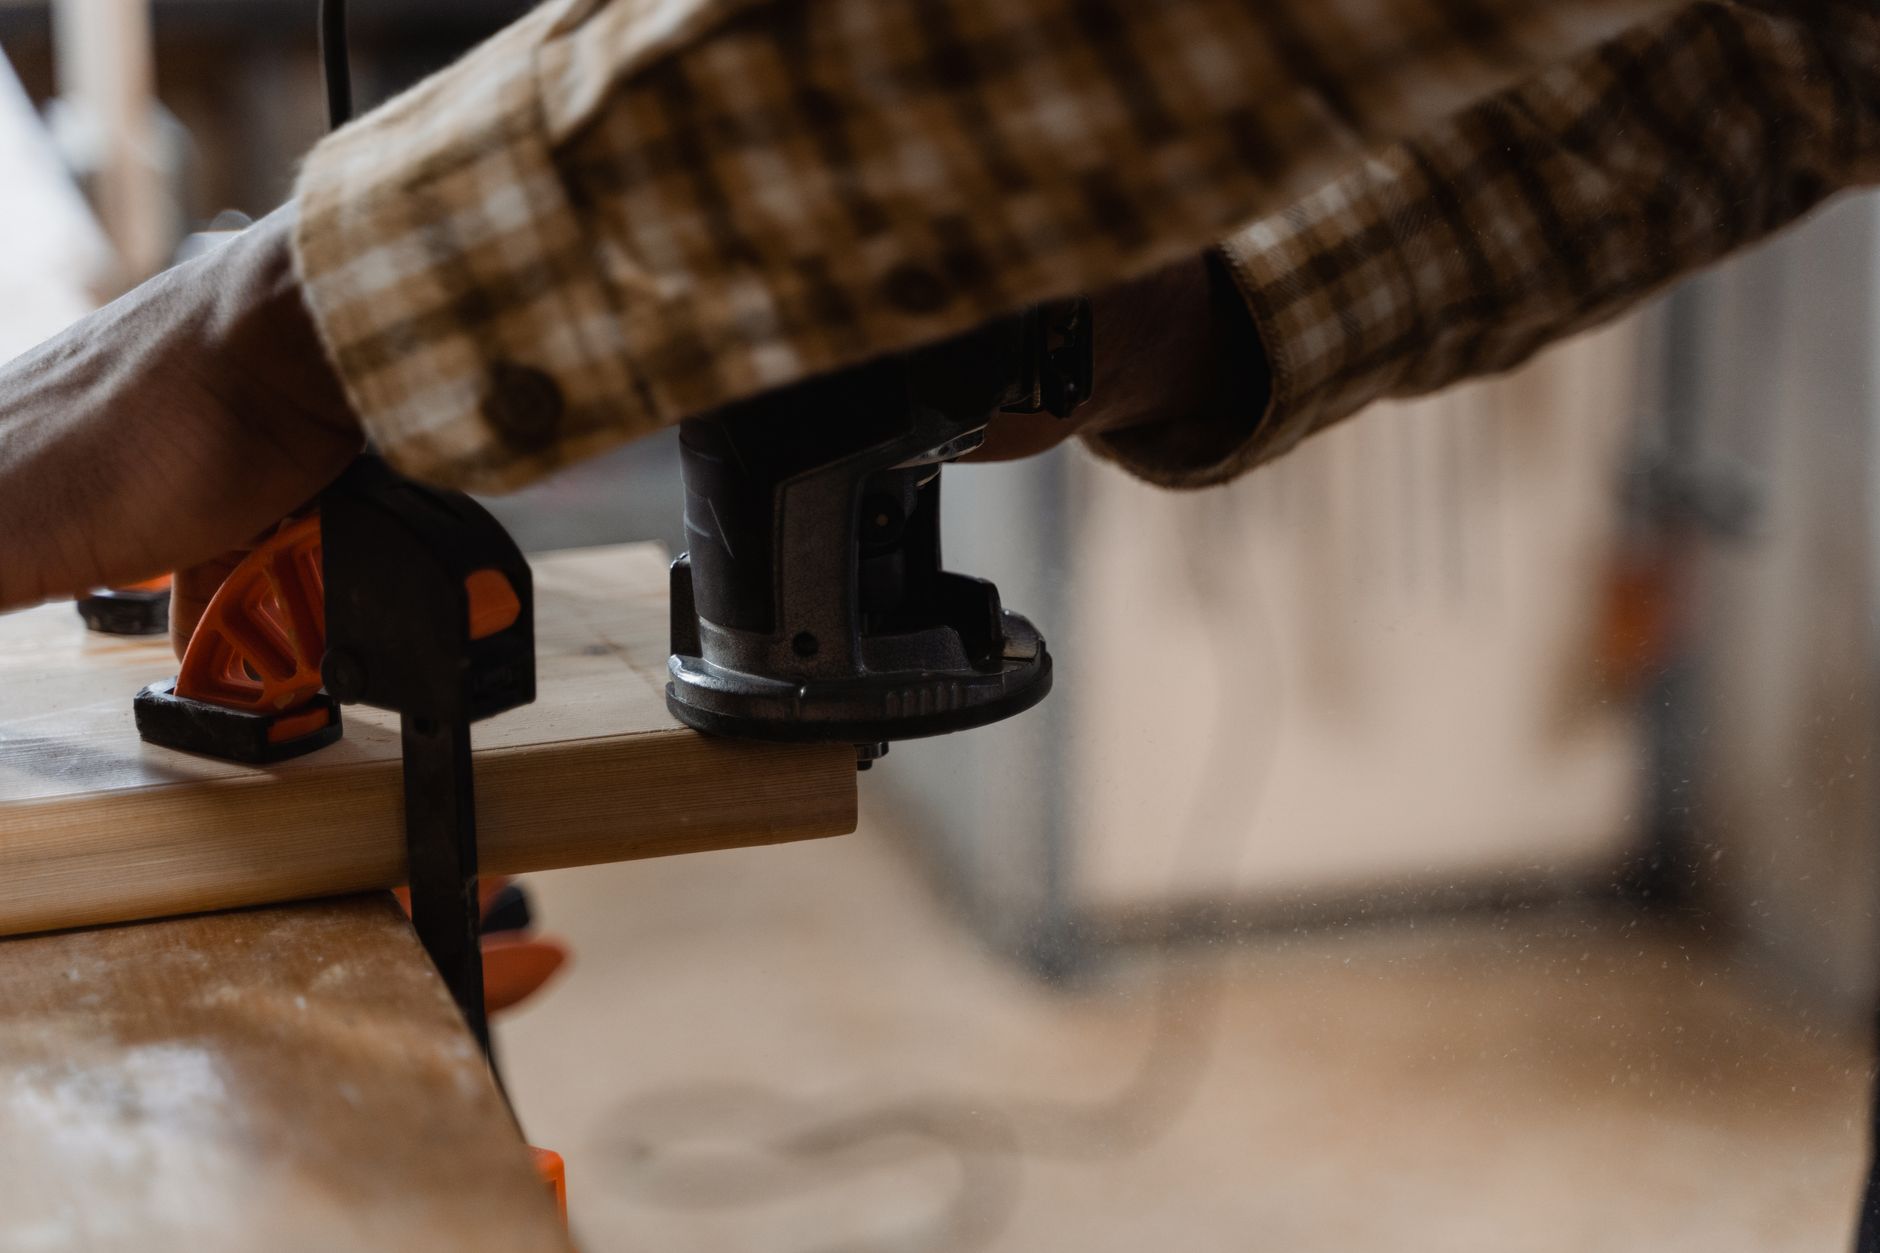
Image: Illustrative photograph: A tidy workshop bench with various woodworking tools and clamps neatly arranged. — Photo by Ahimsa - OM on Pexels.
Tagged with:
About the Author
WoodworkersArchive Editorial
Practical guides, project ideas and woodworking resources from WoodworkersArchive.
Get More Woodworking Tips
Join our newsletter for weekly woodworking tips, project ideas, and exclusive content.