
Tool Cart Planning: Parking, Clearance, and Storage Format
Why Sequence Matters: Parking Before Dimensions
Most tool cart projects get designed backward. A builder decides on drawer counts and overall dimensions, builds the cart, and then discovers it cannot fit through the shop door, cannot slide under the workbench as intended, or forces a narrow path past the table saw. The more productive sequence is: confirm where the cart will park when not in use, then map out how much space it occupies during use, and only then settle on storage configuration and external dimensions.
A mobile tool cart has two distinct positions: its resting footprint when stored, and its working footprint when a tool mounted on it is running. These two footprints are often very different, and planning for only one is the most common cause of a cart that becomes an obstacle rather than an asset. In garage shops or shared spaces, a cart stored against a wall can be rolled to the center of the room when infeed or outfeed space is needed, then returned — a straightforward strategy that only works if both positions have been verified in advance.
Resting Footprint: Where Does the Cart Park?
Before measuring for drawers, measure the location where the cart will rest between sessions. Common parking positions include sliding under a workbench, tucking beside a table saw extension wing, or standing against a wall. Each position constrains a different dimension. Parking under a bench caps the cart's height. Parking beside an extension wing may constrain width. Parking against a wall constrains only depth relative to available floor area. One published cart design is specifically built to slide under a workbench or park beside a table saw extension wing when not in use, reclaiming floor space in compact shops.
The cart height must be designed to match the clearance under the specific bench or wing if you want that parking position to work. Measure the actual clearance at its lowest point — including any aprons, stretchers, or underhang from a table saw wing's hardware — and subtract enough margin to roll the cart in and out without binding on uneven floors. If no parking-under-bench position is available, height is governed instead by the cart top's intended function, which is discussed separately below.
Working Footprint: Clearance During Use
Once the cart is in its working position, its effective floor area expands. Two zones need to be accounted for: the walkway clearance required for the person using the tool, and the infeed and outfeed clearance required for the workpiece. General shop layout guidance recommends allowing 24 inches of clearance on any side of a tool or cart that someone needs to walk past. Applied to a cart, this means a 20-inch-wide cart positioned against a wall needs at least 44 inches of total corridor width to remain safely passable.
Infeed and outfeed clearance adds a separate, often larger demand. For any cart-mounted tool that processes long workpieces, the floor area required at each end can be several feet beyond the cart itself. The exact distance depends on the longest stock you expect to run through that tool. The principle applies to any cart-mounted tool: add the infeed and outfeed zones to the cart's physical footprint to determine the total floor area required during use, and confirm that floor area is actually available in the working position before settling on where the cart will operate.
Sketch both footprints — resting and working — on a floor plan before committing to external cart dimensions. The working footprint defines where in the shop the cart must be positioned during use; the resting footprint defines where it goes when it is not. If those two positions are far apart, factor in a travel path wide enough to roll the cart between them. Locking casters allow the cart to be moved into position and then held in place during use, which matters more when infeed zones are tight and the cart must maintain a precise position relative to an adjacent tool.
Cart Top Height as a Functional Surface
The top surface of a tool cart can do useful work beyond just carrying tools: it can serve as a stand that raises a benchtop tool to a comfortable working height, and simultaneously as outfeed support for an adjacent table saw. A cart top at approximately 36 inches is a common reference height in designs oriented toward this dual role, with one published design pairing a benchtop saw cabinet at that height with a router table serving as outfeed support. The right height depends on the user's stature and the specific tools involved, so it is worth checking that 36 inches actually matches both the user's preferred working height and the outfeed height of the table saw before locking in that dimension.
When the cart top height is also matched to an adjacent table saw's outfeed height, a single cart can serve three functions: storage, tool stand, and outfeed table. This integration only works if all three height requirements converge at the same dimension, which is worth verifying before the build rather than after.
Choosing a Storage Format: Drawers, Trays, or Open Shelves
Storage format is best chosen after the cart's external dimensions are set, because available interior depth and height constrain what formats are even practical. The three main formats each favor different access patterns. Drawers enclose contents, protect tools from sawdust, and can be organized by type, but require depth for slides and pull clearance in front. Open shelves provide immediate visual access and are simple to build, but leave tools exposed to debris. Shallow, fully removable trays offer a middle path: contents are visible at a glance, and individual trays can be carried to a workbench without multiple trips to retrieve separate items.
Drawers work well for accessories that are small, numerous, and need to stay organized under use conditions. A dedicated shallow drawer with spaced shank holes for router bits is a practical example: one published design used holes on 2-inch centers in a drawer sized to hold 90 bits. That specific capacity is tied to the dimensions of that particular drawer and should not be transferred directly to a differently sized build, but the principle of sizing the drawer to the accessory type rather than to a generic depth is broadly applicable.
For many shop carts, a combination of formats makes more sense than committing to one. Drawers for small, loose accessories; an open shelf or enclosed cabinet for larger tools; and a removable tray for items that travel to the bench regularly. The right mix depends on which tools you are storing and how you actually use them. Explore: Rolling Storage Cart; Tool Storage Center.
Organizing by Tool Relationship
Once the storage format is chosen, the organizing principle that most reduces shop friction is proximity: tool-specific accessories should be stored inside or on the cart near the tools that use them. Blades, bits, jigs, push blocks, and fences for a given machine stay together so that setting up that machine does not require trips to different parts of the shop. This is a different logic than organizing by tool category — all measuring tools together, all bits together — and produces a layout that is task-oriented rather than taxonomic. Keeping accessories near the machines that use them reduces trips across the shop and is the core argument for organizing by tool relationship rather than by type.
Drawer depth and the clearance needed to open drawers fully are worth thinking through before finalizing interior layout. A shallow drawer — say, 2 to 3 inches deep — works well for flat or small items like router bits, chisels, or marking tools, and a shallower stack of drawers can fit more tiers into a given cabinet height. Deeper drawers accommodate bulkier accessories but require correspondingly more pull clearance in front of the cart: a drawer must be able to open its full depth without hitting an adjacent bench, wall, or the operator's legs. If the cart will be used in a tight corridor or rolled against a wall during storage, check that the working position leaves enough open space in front for the drawers you plan to include. Matching drawer depth to the specific items stored — rather than building all drawers to a uniform depth — is the more practical approach, and it leaves the router-bit example in its proper context: as part of organizing accessories near the tools that use them.
Flip-Top and Dual-Tool Configurations
A flip-top rotating platform built into a cart allows one tool to be in the working position on top while a second tool is stored below the surface, inverted and out of the way. Rotating the platform brings the stored tool up and the working tool down, effectively fitting two tool positions into a single footprint. In one described design, a mobile workstation combined a benchtop table saw, a router table, and a thickness planer by using a rotating flip-top platform for the planer, with the whole unit rolling out from a wall when infeed or outfeed space was needed.
The flip-top approach adds complexity to the build and introduces structural and balance considerations that go beyond a straightforward box-on-wheels. The sources describe the flip-top as a design strategy but do not provide load ratings or structural specifications for DIY flip-top mechanisms. If you are considering this configuration, confirm that all structural components are rated for the combined weight of both tools before building, and consider having the design reviewed by someone with relevant mechanical experience. This is one area where errors have real safety consequences.
Casters: Locking, Load Rating, and Weight Estimation
Caster selection has two separate requirements: mobility and rated capacity. Locking casters serve the mobility requirement by allowing the cart to be moved easily and then secured in a fixed position during use. The load capacity requirement is a safety matter: casters must be rated for the combined weight of the cart's structure, the tools mounted on it, and the full load of accessories and materials stored inside. This total is easy to underestimate, particularly for carts that hold benchtop power tools. One published cart design specifies 4-inch casters rated at 300 lb as the hardware used in that build — a figure that reflects that specific configuration and cannot serve as a general guideline.
The available sources do not provide a systematic method for calculating total cart weight, so builders must estimate their own loaded weight and verify chosen casters against manufacturer load ratings. Because caster capacity is structural and directly affects safe use of heavy power tools, this aspect of the design warrants careful checking before the cart is put into service. Expert review is recommended for any build where the combined weight of the cart, tools, and contents is uncertain or approaches the rated limit of the chosen hardware.
Decisions to Settle Before Finalizing Dimensions
The following decisions, taken in order, prevent the most common planning errors. First: identify the resting parking location and measure its actual clearance constraints — height, width, and depth — noting that a cart designed to slide under a workbench or park beside a table saw extension wing must be built to match those specific clearances. Second: identify the working position and map the walking clearance and the infeed or outfeed zones required there, adding those zones to the cart's physical footprint to determine total floor area needed during use. Third: confirm a travel path between the two positions. Fourth: decide what tools will be mounted on or stored in the cart, and estimate their combined weight including accessories, to inform caster selection. Fifth: set the cart top height based on working height needs and any outfeed support role — a top at approximately 36 inches can serve as both a working-height tool stand and outfeed support for an adjacent saw, though the right figure depends on the user and the specific tools. Sixth: choose storage formats — drawers, trays, shelves, or a combination — to fit the interior volume that remains after external dimensions are fixed, keeping in mind that fully removable trays allow tools to be viewed at a glance and carried to a workbench individually. Seventh: assign cart zones to specific machines and plan accessory storage within each zone so that tool-specific accessories stay near the machines that use them. Explore: Rolling Work Seat and Tool-Storage Cart.
The 4-inch, 300-lb-rated casters specified in one published design illustrate the limits of borrowing figures from other builds: that rating is tied to that cart's specific loaded weight and cannot substitute for calculating the loaded weight of your own build. Estimate your own total loaded weight, verify chosen casters against manufacturer ratings, and treat caster capacity as a structural decision that warrants careful checking before the cart goes into service.
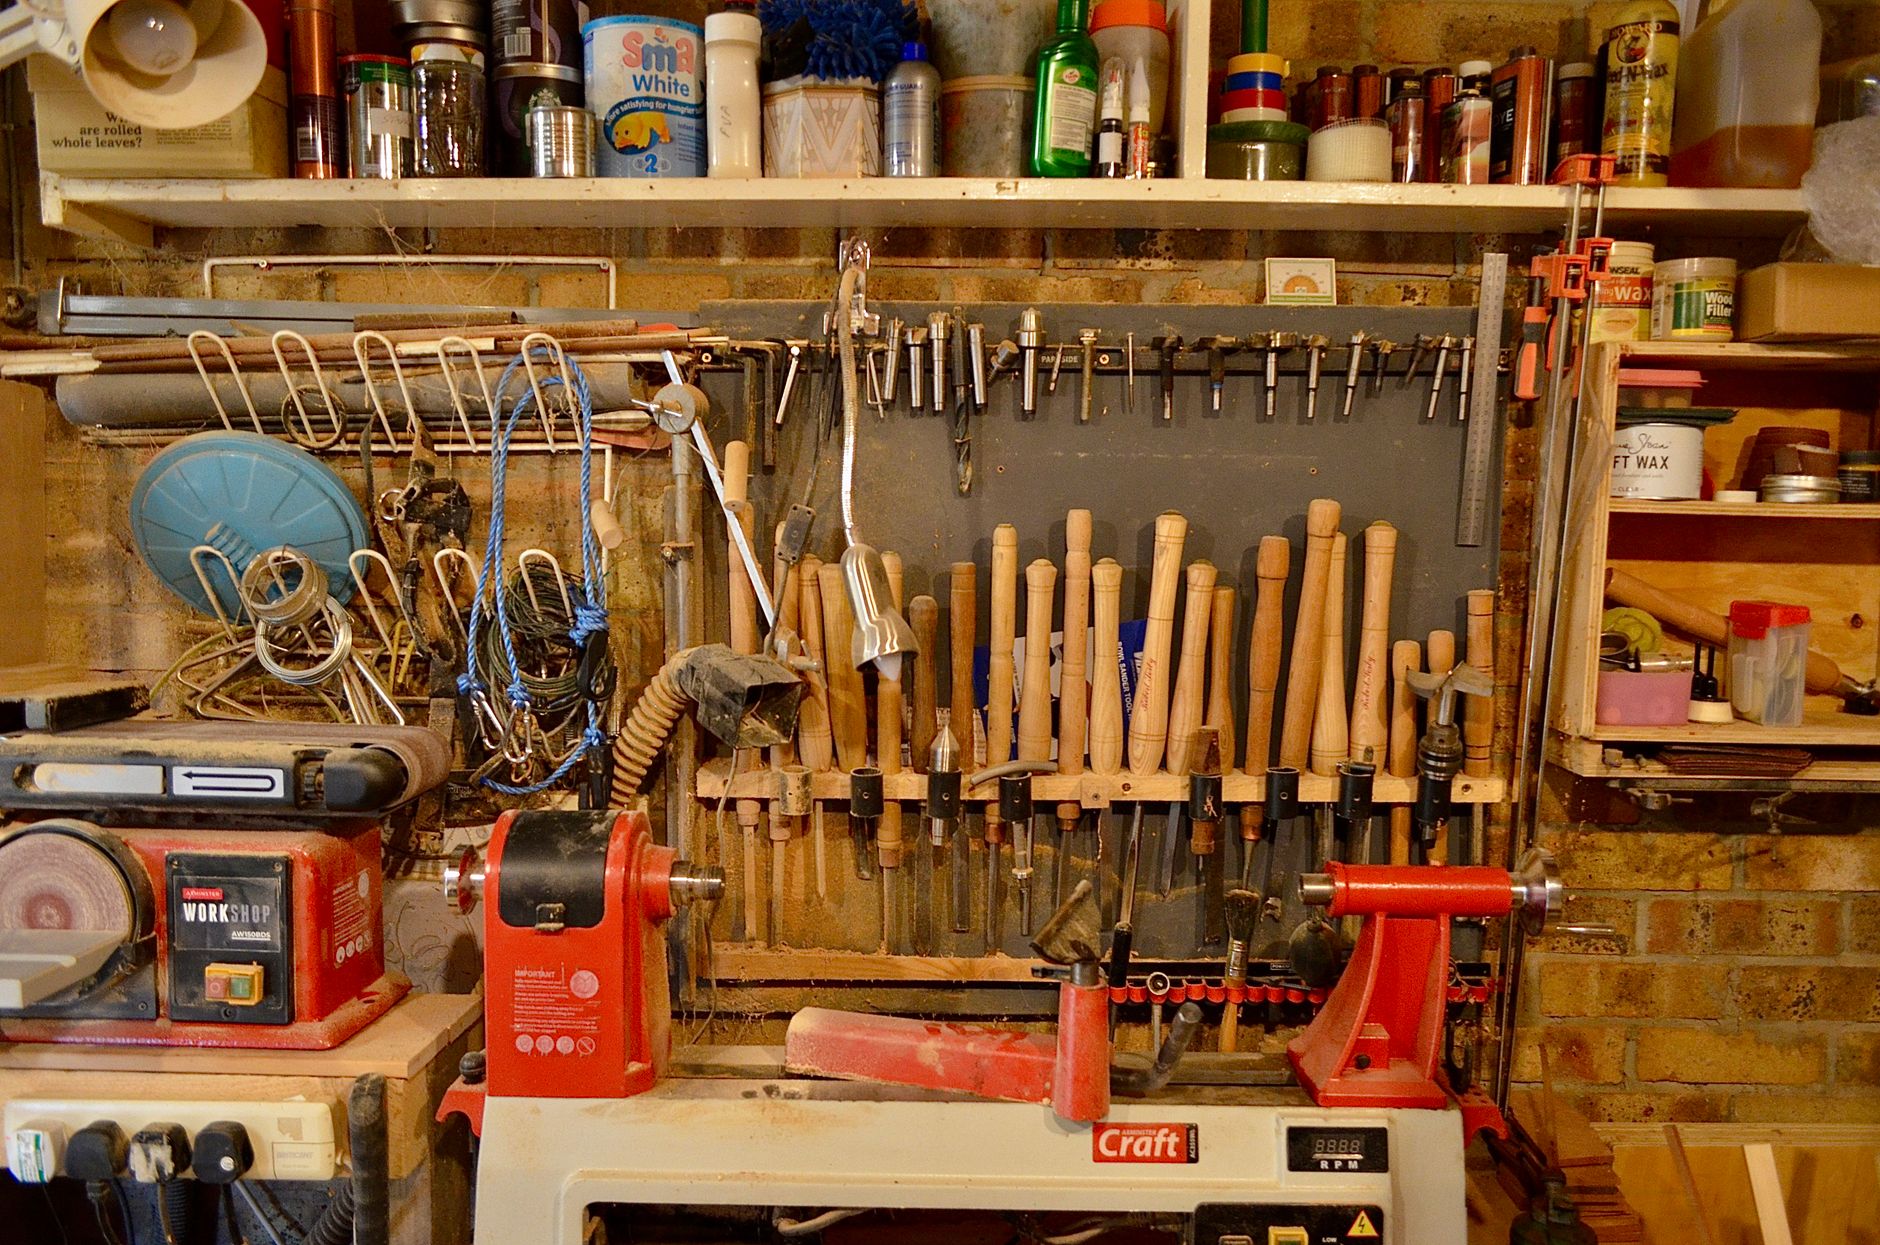
Image: Illustrative photograph: A well-organized woodworking workshop with various tools and equipment neatly arranged. — Photo by Neville Hawkins on Pexels.
Tagged with:
About the Author
WoodworkersArchive Editorial
Practical guides, project ideas and woodworking resources from WoodworkersArchive.
Get More Woodworking Tips
Join our newsletter for weekly woodworking tips, project ideas, and exclusive content.
Related Articles

Miter Saw Station Planning: Workspace and Storage Decisions
Before you cut a single board, these are the layout and storage decisions that determine whether your miter saw station actually fits your shop and works the way you expect.
Router Table Layout Planning: Bench-Mounted vs Standalone
Compare bench-mounted and standalone router table layouts by footprint, storage, and configuration so you can choose the right setup for your shop before you buy.