
Planning a Pegboard Tool Wall Around Everyday Tasks
Start with your tools, not the wall
The most common mistake in setting up a pegboard wall is to mount the panel first and then find hooks for whatever comes to hand. The result tends to be tools grouped by size or by whatever fit the available hook rather than by how they are actually used. A more reliable approach is to start with a full inventory of the tools you reach for daily, weekly, and rarely, and use that inventory to drive every other decision: zone layout, panel format, and holder design.
Before you mark a single hole, lay your actual tools out on the floor or a large sheet of cardboard grouped by task. This physical arrangement shows you which clusters are genuinely large and which zones you instinctively reach into first. It also lets you check that there is adequate finger clearance between neighbouring tools before anything is committed to a fixed position.
Task-zone layout: grouping by workflow rather than tool type
Grouping tools by task rather than by category means keeping together the things that get used together. A marking and measuring zone might hold a marking gauge, a square, a pencil, and a tape measure regardless of whether those are considered hand tools, measuring instruments, or layout accessories. A joinery zone might combine chisels, a mallet, and a shoulder plane. The logic is that when you start a task, you reach into one part of the wall and find everything you need without scanning the whole surface.
Placement within those zones should reflect use frequency. The most accessible positions on the wall, roughly in front of your primary work position and at a comfortable working height, are where the tools you reach for many times a day belong. Less-used tools can occupy outer sections, upper rows, or the backs of swing-out panels.
This placement logic applies within a projecting or angled rack as well: the face that sits squarely in front of your work position gets your daily tools, and the angled side faces carry items you use less often. The arrangement is worth sketching on paper with rough outlines of each tool cluster before you install anything, since moving a whole zone once hooks are in is straightforward, but relocating a mounted custom holder is not.
Flat panel, angled projecting rack, or swing-out panels: choosing the right format
A flat panel mounted directly to the wall is the simplest approach and suits shops where the wall area is generous relative to the tool collection. Every tool hangs on a single plane and is visible at a glance. The limitation is that the usable surface area is exactly what the panel face provides, nothing more.
An angled projecting rack uses triangular frames to angle two pegboard panels outward from the wall, so each assembly occupies a relatively modest wall width but presents two angled faces. Tools on neighbouring sections do not compete for the same flat plane, which is the core density advantage. A storage gain over a flat panel of equivalent wall width has been cited at around 40%, though this figure comes from a headline and is not independently verified; treat it as a rough approximation rather than a precise measurement.
Swing-out panels take a different approach: wooden-framed pegboard panels are mounted perpendicular to the wall on tracks so each panel swings out for access. Because both faces of every panel are usable, several panels can occupy the wall area that a single flat panel would need. This format suits shops with limited wall width but enough floor depth in front of the installation for panels to open fully.
The choice between these formats is primarily a question of room geometry and how the wall relates to your main work positions. A projecting rack works well along a long wall opposite a workbench where you approach straight on. Swing-out panels suit a narrower wall where projecting frames would encroach on the room. A flat panel remains a sound choice when wall area is not the constraint and you value seeing everything simultaneously without moving panels aside.
Storage density strategies for a fixed wall area
If the wall area is fixed and the tool collection is large, the first move is to audit which tools genuinely belong on the wall at all. Tools used only occasionally are often better stored in drawers or a cabinet, freeing prime pegboard positions for items that justify immediate visibility.
Beyond that audit, the main gains come from how individual tools are presented. Standard metal hooks hang tools individually and flat, which is fine for hammers and squares but wasteful for sets. A set of six chisels hanging individually on hooks occupies far more horizontal space than the same set in a compact angled wooden holder. The same applies to drill bits, router bits, wrenches, and pliers. Angled wooden holders orient tools at an angle to the wall so several items fit in a narrower section of pegboard than hanging each tool flat and separately.
For swing-out or projecting formats, distributing heavier tools across several panels or faces rather than concentrating them on one is a practical precaution. No specific load limits per panel are available from the sources; the appropriate load depends on the track hardware, pivot pins, panel frame construction, and the fasteners used to attach the whole assembly to the wall. When in doubt, consult the hardware manufacturer's guidance and, for unusually heavy installations, seek advice from someone qualified to assess your specific wall construction.
Custom wooden holders worth building: bits, chisels, wrenches, and pliers
Four categories of tool holder stand out as worth building in wood because off-the-shelf hooks cannot match them for density or security. The construction methods are straightforward for an intermediate woodworker with a table saw and a drill press.
For drill bits and router bits, start with a hardwood blank and chamfer one face at a moderate angle. Holes sized to each bit's shank are then drilled into the angled face. The angle presents the bits toward the user rather than pointing straight out from the wall, so the holder occupies less wall depth while keeping the bits easy to identify and extract.
For chisels, cut a deep kerf along a chamfered face, then glue small spacers into the kerf at intervals to create individual slots for each blade. The chisel handle rests against the angled face while the blade sits in its slot, keeping edges protected and the full set visible in a compact row.
For wrenches, cut angled kerfs across a square blank using a dado blade at the table saw, then trim the blank to a wedge shape. The angled kerfs allow wrenches to overlap rather than lie side by side, so a full set fits in roughly the wall width of two or three individual hooks. For pliers, a compartmented design stores multiple pairs one behind another at an angle, again reducing the footprint compared with hanging each pair on its own hook.
Mounting custom holders to pegboard securely
Custom wooden holders are heavier and more concentrated than individual hooks, so the mounting method matters. Two approaches are well supported by the available sources.
The first uses L-hooks inserted from behind a spacer frame. The holder's own weight locks the hooks against the pegboard during use, but the whole unit can be lifted off for rearrangement without tools. This makes it straightforward to trial a position before committing, which is worth doing given that custom holders are harder to relocate once a zone is populated with tools around them.
The second approach fastens the holder directly to the pegboard using wall anchors inserted into the pegboard holes, with screws driven through the holder and into the anchors. This makes the holder itself the mounting point rather than relying on hooks. It is a more permanent connection and suits holders that carry more tools or tools that are frequently pulled and returned with force. The backing frame and wall fasteners must be appropriate for the combined weight of the holder and its tools; the sources do not provide specific load figures, so if the load is substantial, seek guidance from your hardware supplier or a qualified tradesperson.
For swing-out panel systems, standard metal hooks are worth replacing with locking or anchoring hooks throughout the installation, not only under custom holders. Panel movement when a tool is removed can lift standard hooks out of their holes, so anchored hooks are recommended across the whole system.
Clearance and interference checks before you fix anything permanently
Two categories of interference are worth checking before any fastener goes in for good: tool-to-tool interference within the layout, and panel-to-room interference for swing-out or projecting formats.
For tool-to-tool interference, lay the tools out in their intended positions and confirm that adjacent tools have enough clearance to be lifted off their hooks or out of their holders without catching on a neighbour. Long handles are the common problem; on an angled projecting rack, a long-handled tool on one face can extend far enough to block access to a tool on the neighbouring face, so this check is particularly important on that format.
For swing-out panels, the floor and bench space in front of the wall must be verified before installation. Stand in front of the intended installation and physically trace the arc each panel will sweep when opened. A workbench, cabinet, floor-standing machine, or tools hanging on an adjacent panel can all block the swing, and a panel that cannot open fully hides the tools behind it without providing access.
Sequencing the build: what to decide before you drill
The decisions compound in a specific order, and getting them right avoids rework.
First, inventory your tools and sort them by use frequency and task group. This determines what needs to be on the wall at all and in what priority order. Second, choose your panel format based on wall geometry and available floor depth: flat if wall space is generous, projecting rack if you need more surface from a moderate wall width, swing-out if wall width is tight and you have the floor depth to open panels freely. Third, complete the clearance and interference checks for your chosen format, since discovering a swing arc conflict after the track hardware is mounted wastes significant effort. Fourth, plan the zone layout on paper using the actual tool silhouettes from your dry-run, confirming that frequently used tools land in the most accessible positions while less-used tools go to outer or upper sections. Fifth, decide which custom wooden holders you need and build them before mounting anything, so you can position them in the layout and account for their footprint. Finally, mount the backing frame and panels, dry-fit all holders and hooks using the L-hook method where possible so each rack can still be lifted off for rearrangement before permanent fixing, verify spacing and clearance with actual tools in place, and only then commit to permanent fasteners. Explore: DIY Tool Organization + Storage; Tool Storage Center.
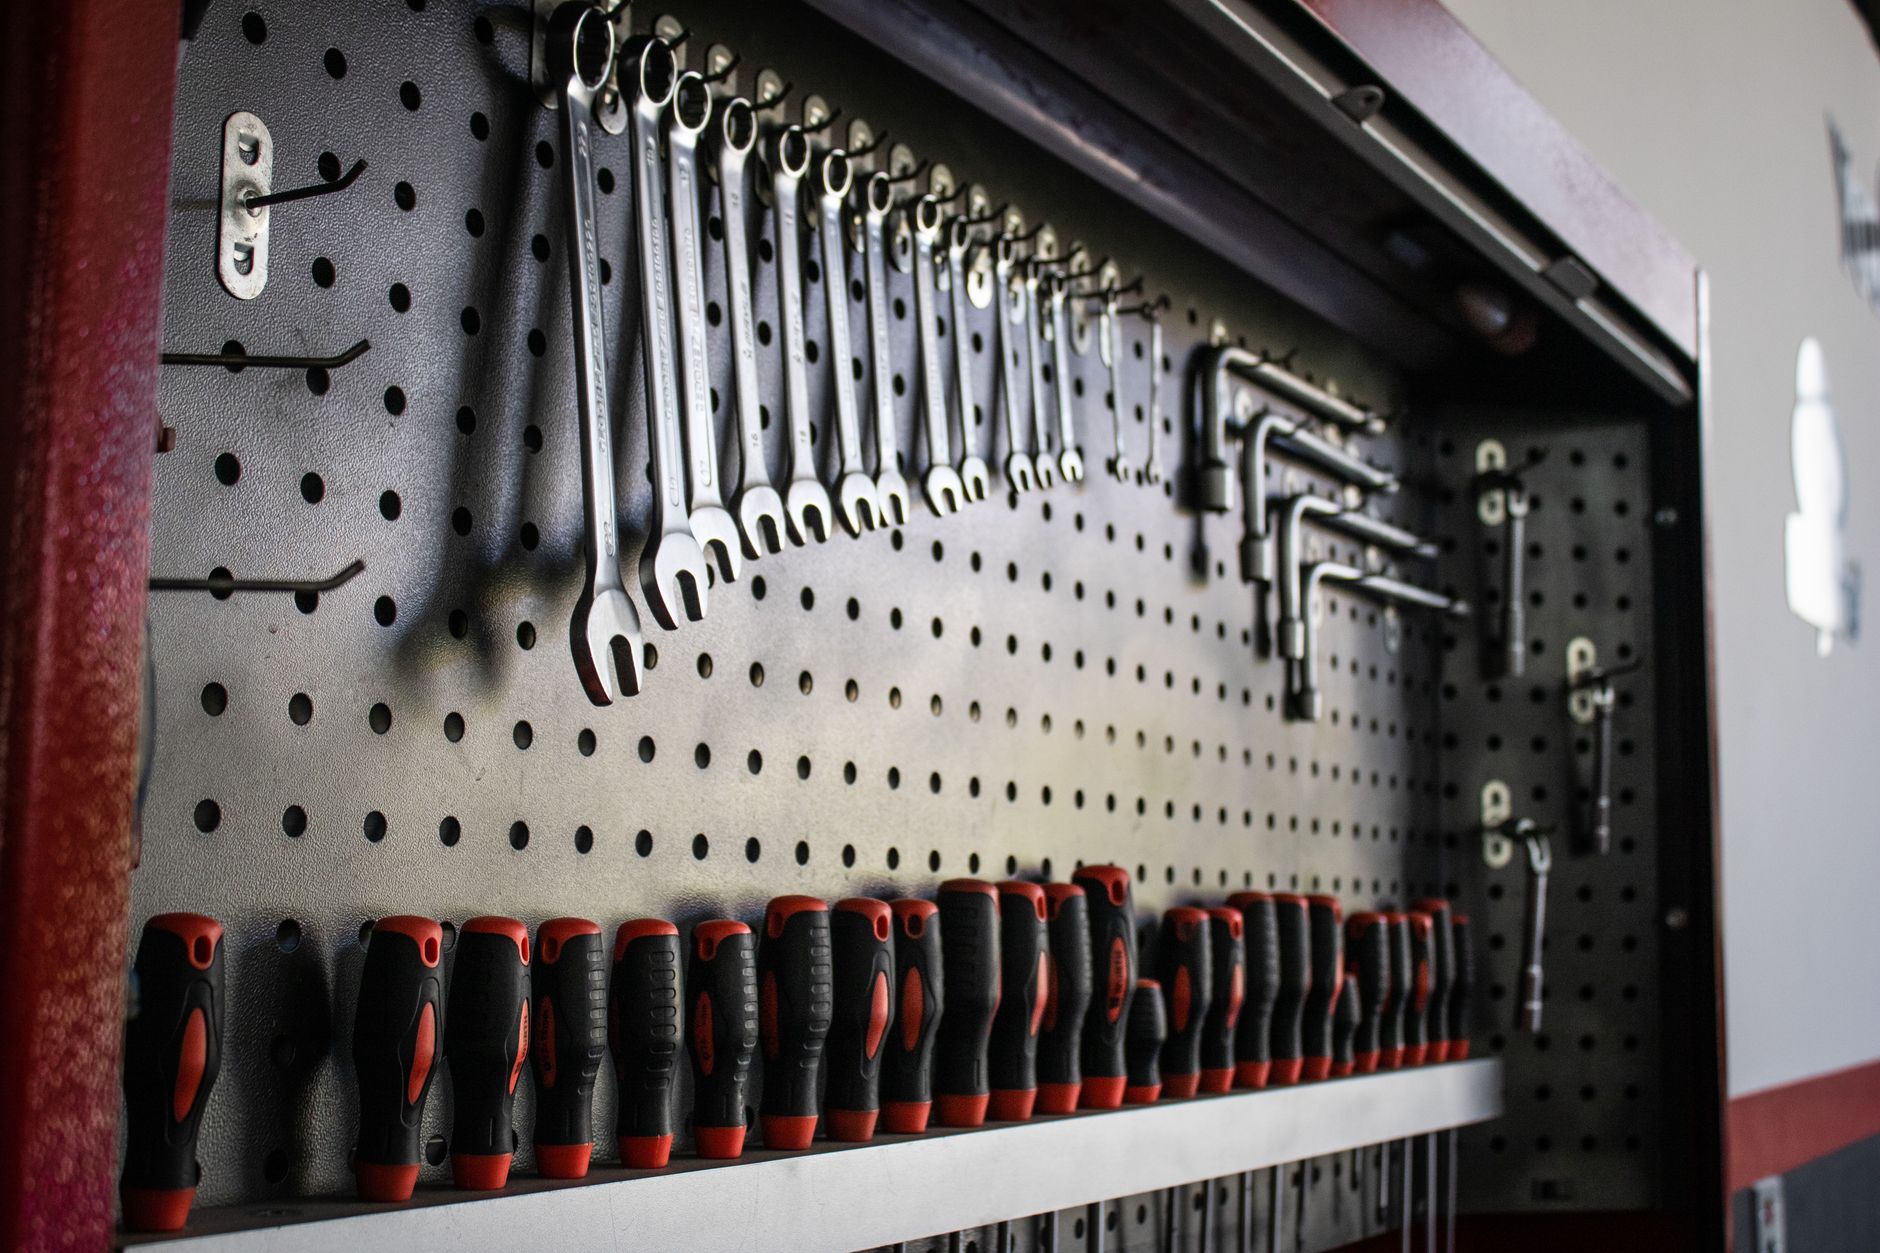
Image: Illustrative photograph: A collection of hand tools neatly arranged on a pegboard for easy access and organization. - Photo by Victtor Daniel on Pexels.
Tagged with:
About the Author
WoodworkersArchive Editorial
Practical guides, project ideas and woodworking resources from WoodworkersArchive.
Get More Woodworking Tips
Join our newsletter for weekly woodworking tips, project ideas, and exclusive content.
Related Articles

Planning Clamp Storage Around the Clamps You Actually Own
A planning-first guide that works from clamp type and weight outward to rack format, fastener choice, and wall layout, so your storage fits what you actually have rather than a generic solution.

Planning Lumber Storage Around Board Lengths and Workshop Access
Where you put your lumber rack and how you configure it shapes every project from the first cut onward. This guide connects board length, moisture behaviour, and shop layout into decisions you can reason through before you build or buy anything.

Table Saw Outfeed and Storage Layout: Choosing the Right Configuration for Your Shop
A decision-focused comparison of three outfeed table configurations, fixed storage cabinet, workbench hybrid, and rolling integrated workstation, matched to shop size, material length, and workflow constraints.