
Planning Clamp Storage Around the Clamps You Actually Own

Start with an inventory, not a rack
The most common clamp storage mistake is choosing a rack format before looking at what you own. A stamped-steel bar-clamp rack does nothing useful for a shelf of C-clamps and handscrews, and a dowel rod sized for spring clamps will not support a row of heavy pipe clamps. The planning sequence that works starts with a full count of your clamps sorted by type, then moves to rack geometry, then to fasteners and wall layout.
Walk through your collection and group it: bar and pipe clamps in one pile, F-style clamps in another, C-clamps, spring clamps, and handscrews each separately. Note the longest and heaviest clamps in each group, because those two dimensions drive the structural decisions that follow. Laying your actual clamps out before cutting any holders is the most reliable way to match holder geometry to what you have rather than to a notional average size.
Matching rack format to clamp type
Bar clamps and pipe clamps hang best from a notched or slotted support that captures the bar or pipe at the top while the clamp hangs vertically. One practical approach is an L-shaped plywood shelf with notches cut along the front edge; the clamp drops into a notch and hangs under its own weight. For especially long clamps, a second rack mounted lower on the wall stabilises the bottom end and stops them from swinging when you reach past them. Explore: Clamp Storage Plans.
C-clamps hang well from dowels angled upward at approximately 5 degrees. The angle is intentional: it prevents clamps from sliding off the end of the dowel when the rack is in a busy shop environment.
Spring clamps in mixed sizes can share a single horizontal dowel, with smaller and larger clamps grouped on the same rod. Explore: Space-Saving Workshop Clamp Rack.
Handscrew clamps have a geometry unlike any other type: two wooden jaws connected by threaded rods. A wall-plate-and-arm rack with a support extension sized to fit between the rods is the most practical approach for organising them on a wall.
Commercial stamped-steel racks: what they suit and what they do not
Commercial stamped-steel clamp racks come pre-slotted for specific clamp types and are ready to mount without any fabrication. They work well for F-style clamps and lighter bar clamps. For deep collections of heavy pipe clamps or parallel clamps, the load concerns push toward bespoke plywood construction with heavier fasteners rather than off-the-shelf stamped steel. Commercial racks also do not address handscrews or spring clamps especially well, which is where type-specific DIY holders earn their place.
DIY plywood rack options by type
Building racks from three-quarter-inch plywood one clamp type at a time suits a mixed collection well. Each module handles its own type, and you add modules as the collection expands rather than rebuilding anything already installed. Explore: Clamp Storage Plans.
An adjustable T-track system takes the modular idea further by letting you reposition clamp support blocks along the track to accommodate different clamp widths and styles. This is worth considering if your collection includes clamps of varying head sizes within the same type, or if you expect to add different clamp styles over time.
For specific cutting dimensions, notch widths, shelf depths, and dowel diameters, follow the original plan sources rather than estimating. The dimensions in those plans are matched to typical clamp geometries and have been worked out to avoid a holder being either too loose or too tight for the clamp it carries. Explore: Space-Saving Workshop Clamp Rack; Clamp Storage Plans.
Fastener selection based on clamp weight
Clamp weight is the main variable in fastener selection. Pipe clamps and parallel clamps are among the heaviest clamps in a typical shop. The general workshop guidance for racks carrying those types is to mount into studs using lag bolts rather than standard wood screws. F-style clamps are lighter, and regular screws into studs are considered adequate for those racks. The distinction matters: using undersized fasteners for a heavy rack is a safety concern, while over-engineering a light rack wastes time.
Neither the sources consulted nor this article provides engineered load ratings or fastener pull-out specifications. If you have any doubt about the weight your installation will carry, consult a structural reference or a qualified tradesperson before mounting.
In all cases the fasteners need to find solid wood. A stud finder and a chalk line before drilling will confirm your layout and prevent a rack from pulling away under load.
Wall layout: orientation, aisle clearance, and stud spacing
Wall layout offers two orientations for hanging clamps: parallel to the wall (clamps side by side across a wider wall span) or perpendicular to it (clamps projecting outward one behind another). A perpendicular layout stores more clamps in a narrower width of wall but requires more aisle depth in front, since the full length of the clamp projects outward. A parallel layout uses more wall width but stays flatter and allows a narrower working aisle.
For custom plywood racks, a wide back panel can span several studs, distributing the load across multiple fastening points rather than depending on a single pair. This gives more freedom in placing the rack horizontally than a commercial rack whose mounting holes are fixed.
Combining several rack types in one dedicated wall section keeps the whole collection together and gives each type an appropriate holder. Mapping this out on paper before drilling anything is worthwhile: sketch which rack types you need, their approximate widths, and where your studs fall, then arrange the layout so heavier racks land on studs and lighter holders fill the gaps.
Mobile carts and portable carry options
A rolling clamp cart is useful when your work happens in different parts of the shop or when you want to bring clamps to a glue-up and return them afterward. The cart keeps clamps accessible during the job without permanently occupying wall or floor space near a fixed work area. When specifying casters for a DIY cart, choose casters rated for the combined weight of the cart itself and the clamps it will carry. Actual weight depends on what you load, so weigh a representative set of clamps before selecting casters rather than estimating.
For spring clamps used frequently at different positions around the shop, a small bucket or bin is a practical secondary carry method: clamps drop in quickly, travel easily, and can be set down at any work position without unpacking. This complements a wall rack rather than replacing it.
Designing for a collection that keeps growing
If you buy clamps regularly, design your storage to absorb additions without requiring a full rebuild. The modular-by-type plywood approach handles this directly: when you acquire enough of a new clamp type to warrant dedicated storage, you build one more module and mount it alongside the existing ones rather than reworking the whole wall.
An adjustable T-track system is the most flexible option for a collection that keeps changing in character, not just size, since the same track can be reconfigured as you add different clamp styles without replacing the structural backing. The tradeoff is slightly more complexity to set up initially compared to a fixed notched shelf or dowel rack.
Whichever system you choose, leave deliberate gaps in the initial layout. A wall section that is full on day one leaves no room for the clamps acquired next month. Planning for roughly one-third more capacity than your current count requires is a reasonable buffer, particularly for bar and pipe clamps, which tend to accumulate quickly as projects get larger.
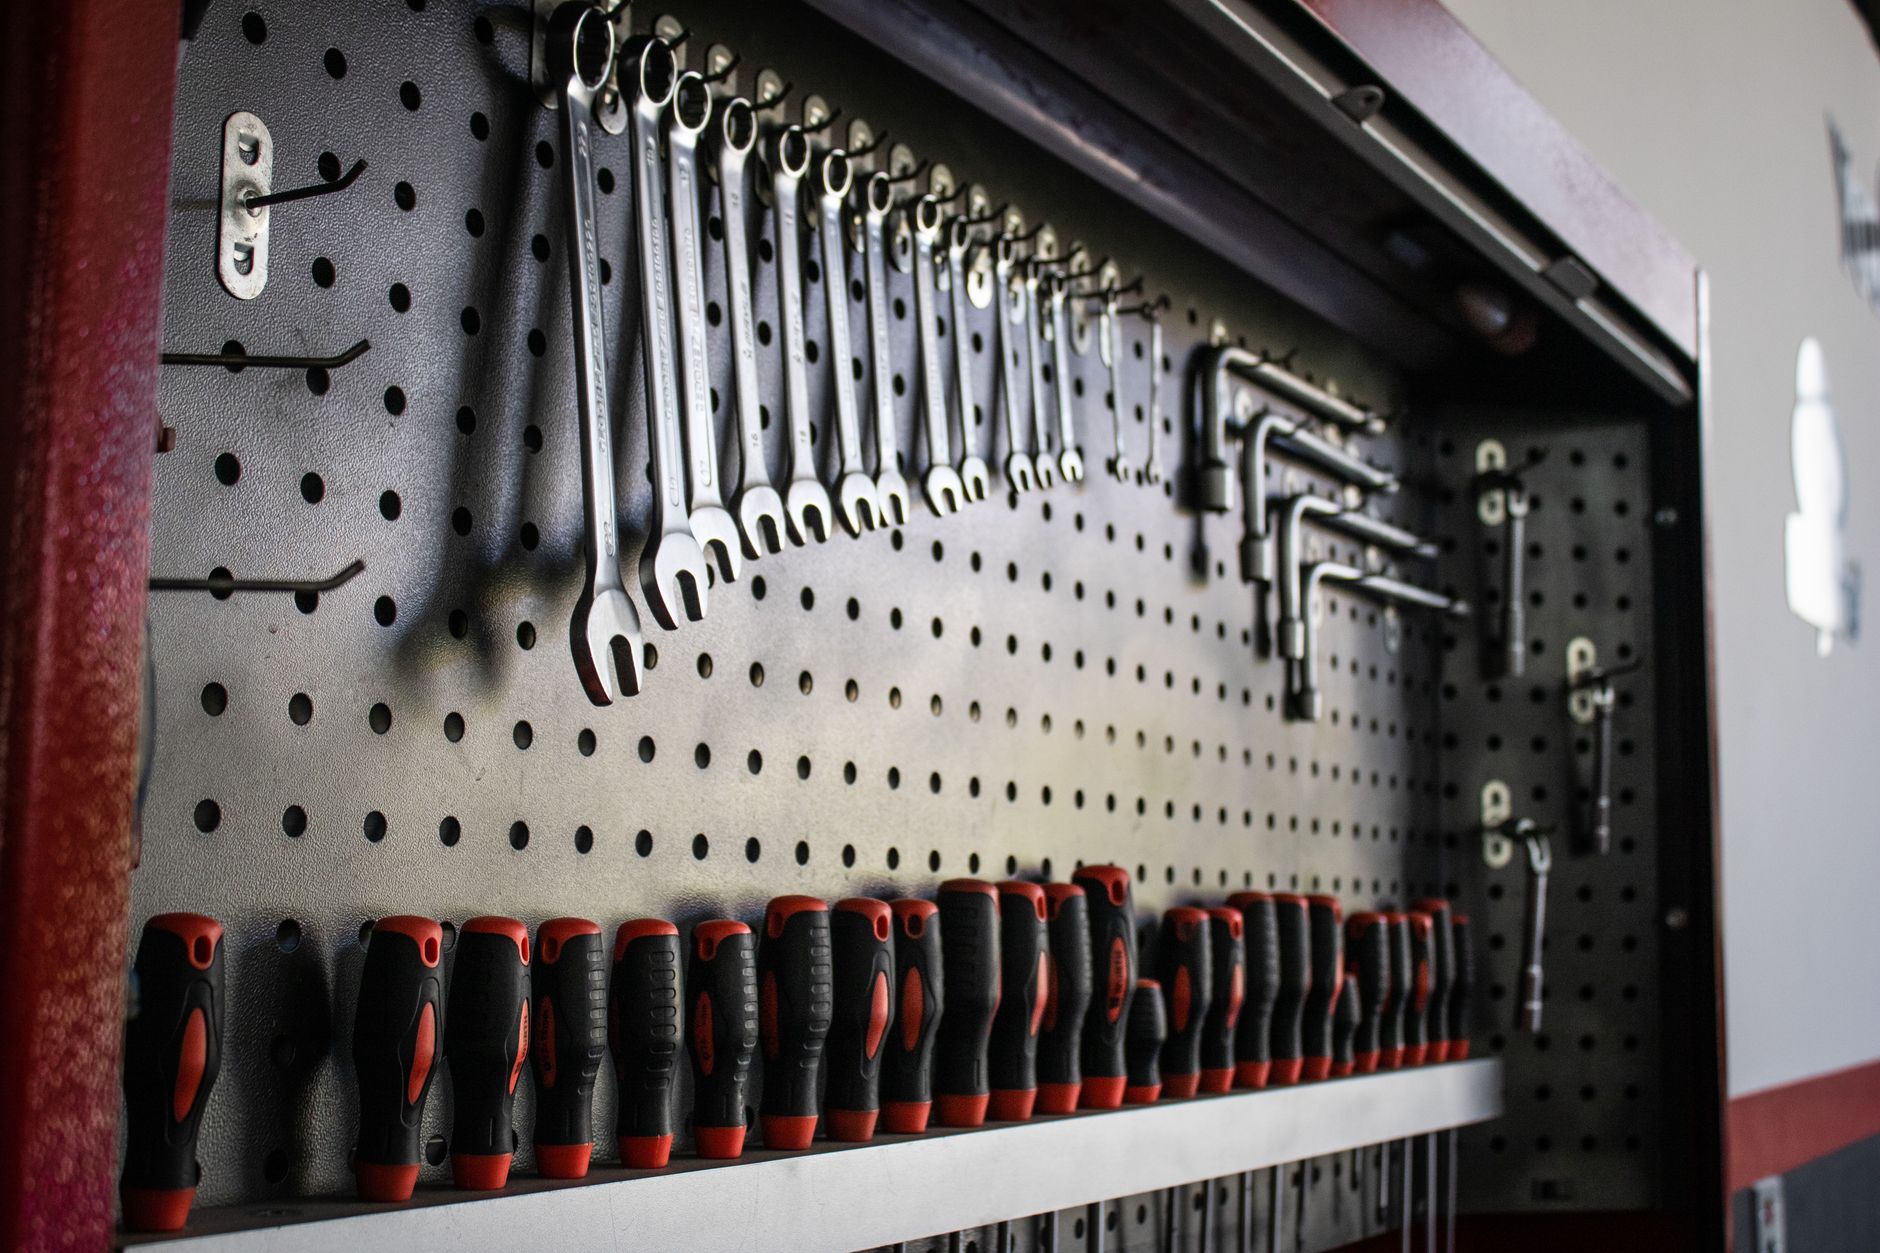
Image: Illustrative photograph: Close-up of metallic clamps hanging in a Berlin workshop with blurred tools in background. - Photo by Chris Leib on Pexels.
Tagged with:
About the Author
WoodworkersArchive Editorial
Practical guides, project ideas and woodworking resources from WoodworkersArchive.
Get More Woodworking Tips
Join our newsletter for weekly woodworking tips, project ideas, and exclusive content.
Related Articles
Planning a Pegboard Tool Wall Around Everyday Tasks
A task-first planning guide covering panel format selection, task-zone layout, storage density strategies, and custom wooden holder construction so your pegboard wall suits how you actually work rather than filling space by default.

Planning Lumber Storage Around Board Lengths and Workshop Access
Where you put your lumber rack and how you configure it shapes every project from the first cut onward. This guide connects board length, moisture behaviour, and shop layout into decisions you can reason through before you build or buy anything.

Table Saw Outfeed and Storage Layout: Choosing the Right Configuration for Your Shop
A decision-focused comparison of three outfeed table configurations, fixed storage cabinet, workbench hybrid, and rolling integrated workstation, matched to shop size, material length, and workflow constraints.