
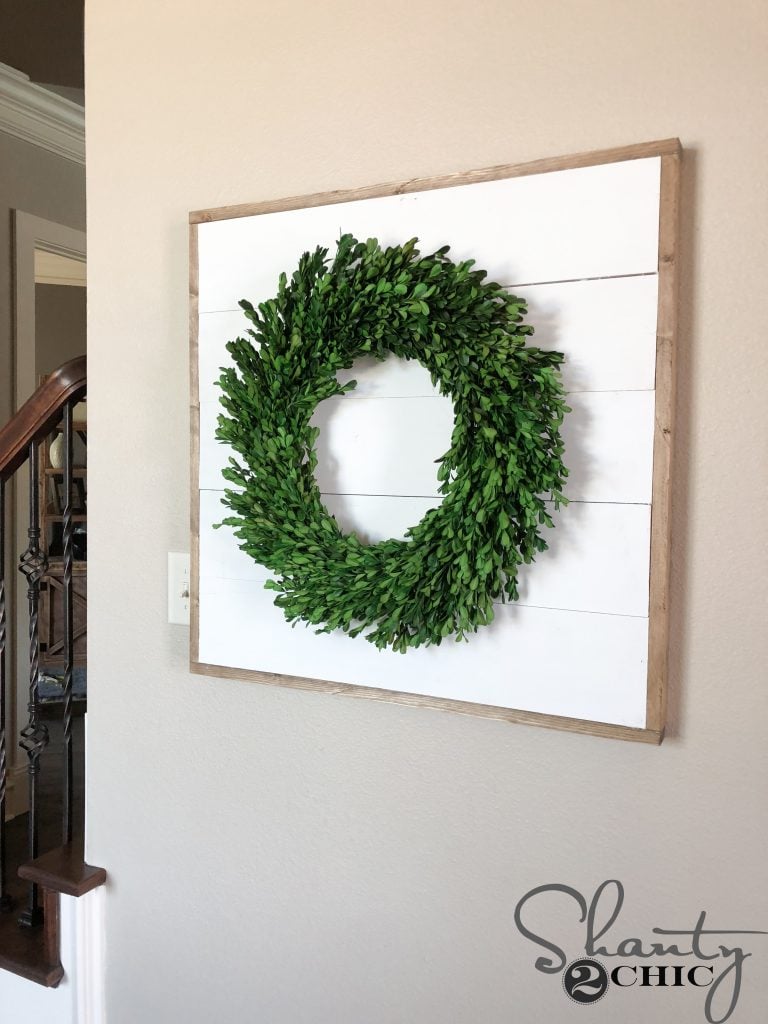
DIY Rectangle Christmas Wreath
Hey guys! So, I've been on a mission to create a rectangular wreath, similar to many that I have seen in some popular home decor catalogs! I finally came up with a solution and I'm LOVING it!
Isn't it just too cute? It only cost me about $15 and about an hour of work!!
Here's how!
I purchaed 1 – 1×4 @ 8″. This is a great project to use up scraps. You can also use a furring strip to save money if you don't have the scraps. I made 2 cuts at 22 3/4″ and 2 cuts at 18 3/4″. You can make yours any size. This just seemed to be a good size to me.
If you don't have a saw, the saw below is the PERFECT saw for this kind of project. It's inexpensive and great way to get into building!
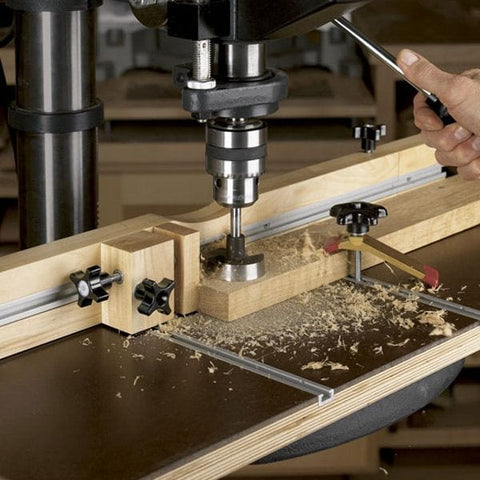
Amazon.com WidgetsI used myKreg Jigto attach the boards. You can see that I circled the places where I drilled the pocket holes. I drilled 2 holes at both ends of each shorter 1×4. I followed up with 1 1/4″ pocket hole screws. If you haven't purchased a Kreg Jig yet, don't stress. You could also use wood glue and a staple gun to attach the boards but you will need to wait for the glue to dry and I would do staples on both sides of the frame (front and back).
Next, I purchased 2 9-foot strands of garland
and I bunched up the garland (so that no wood was showing) and secured it with my staple gun. There really isn't an art to this. I just bunched up the garland in a zig-zag form. You can adjust the branches as you go so that it looks full!
Once the garland strands were attached, I added a little bit of burlap garland!
I started by stapling on end to the top of the back of the frame and wrapped it all the way around the frame. Staple the burlap to the back of the frame everywhere that it wraps so that it stays in place. Keep wrapping until you reach the top of the frame again, staple to the back and trim the extra burlap.
I also purchased these cute little pinecones for about $.50 each!
I snipped the stems off
and hot glued them to the frame between each wrap of burlap.
Next, I made a burlap bow, just like the bow that I made for my Christmas Tree topper! You can see the tutorial for the bowHERE! I just attached it to the top of the frame with hot glueHere she is at this point. I used dabs of hot glue and staples to make the bow lay exactly how I wanted it to. This will be helpful too on windy days if it is hanging on your front door! You can see that I hot glued the tails to the wrapped burlap too.
Now for the finishing touch!
I found these cute chipboard letters at Hobby Lobby. Get them when they are on sale and you can snag them for about $.50 each!
I gave them two coats of Rust-Oleum Gold Glitter spray paint!
Next, I attached each letter to a strand of 3-ply twine with a staple gun through the back of the letter.
Then, I just attached the strand of twine to the wreath with the staple gun. I chose to hide my twine attachment behind the bow tails!
That was it!!! She's ready to hang on my front door, wall or my mantle!
Here she is hanging on myHall Tree Bench!
I just love this little cutie and you can change the word out in the middle and keep it up through out winter and fall!
I hope you love this Rectangle Wreath! If you make one yourself, please email us your version. We love seeing your projects 🙂
We always appreciate you social shares!
Thanks for stopping by!
~Ashley
Similar Plans (6)


Community Discussion
Start a DiscussionNo discussions about this plan yet.
Be the First to Discuss